Hello readers, welcome back to the ‘Let's get crafty series’. Have you created your first DIY felt craft? We are sure you have made your first felt craft using our tutorial from our previous blog. We are curious to know how it turned out.
If you are new, visit our previous blog “Make your first felt” where we teach how you can easily create basic shapes.
Since you have created your own felt craft, doesn’t it look a little boring? Do you want to spice it up a bit, add a little bit of character, and a dash of your own idea? Well, today might be your day! We have a lot of things to show you about how to bring your craft to life. And trust me you might not want to miss out on this.
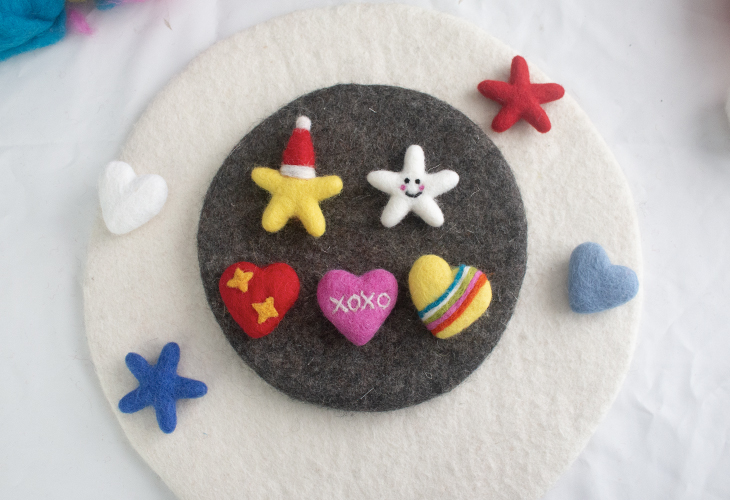
This week, we are teaching you how to jazz up your first felt and bring it to life. Let us show you how to transform your craft in just a few steps with no effort and level up your craft knowledge.
Some of the exciting things you will learn are how to add colors, textures, text, etc. to the felt heart and star you created. This way you can blend in different ideas to add a personal touch to your craft. 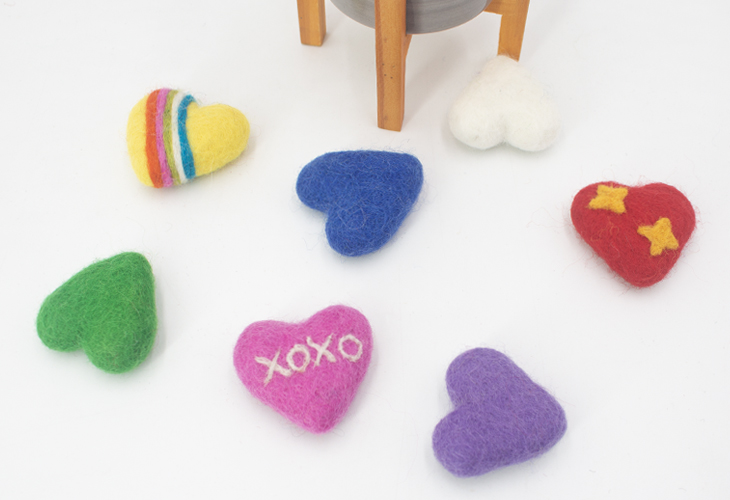
First, let's transform the heart by adding different colors of wool to add color and text.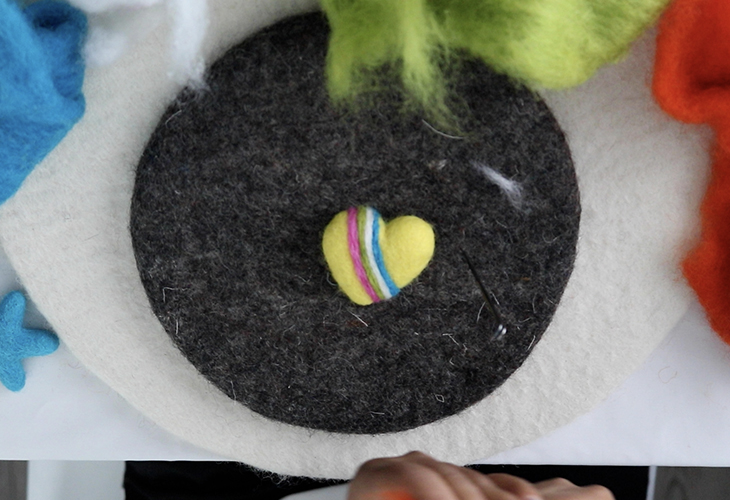
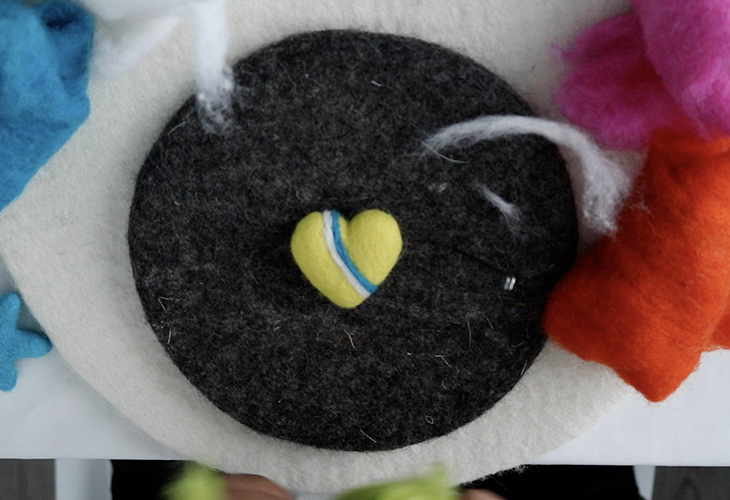
Ray of Rainbow
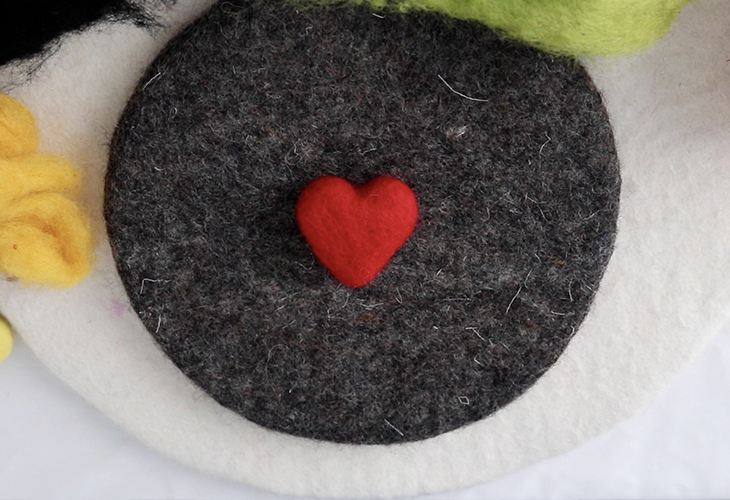
- Take the heart you created or just any needle felted heart.
- Take various colors of roving wool
- Use a color of your choice to start with
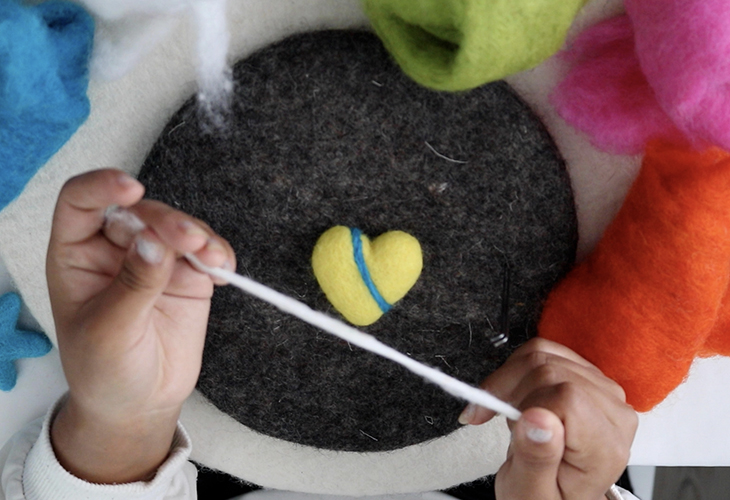
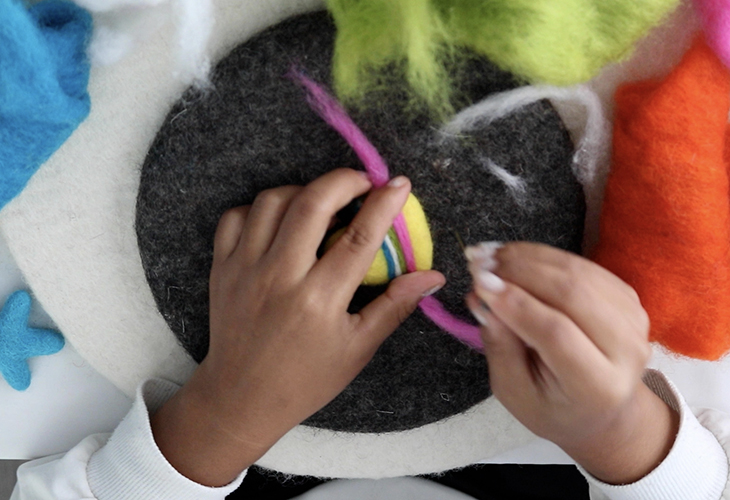
- Stretch and roll the wool with your hand to make a thin layer
- Place that on wool and start diagonal needling
- Add colors of our choice respectively
- As a finishing touch needle from all corners after adding all the wool
- Make it firm and tight.
- Bingo! Rainbow heart is now ready.
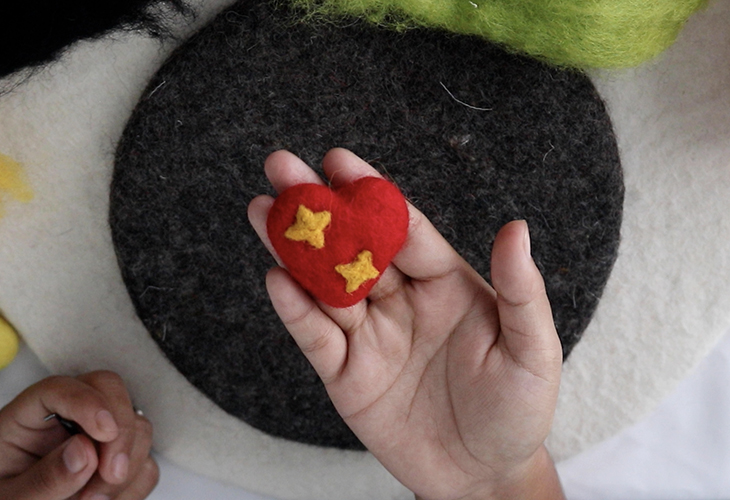
Stars In My Heart
- Take a heart
- Grab wool of your choice. Remember to always take a small amount of wool; you can always add more late
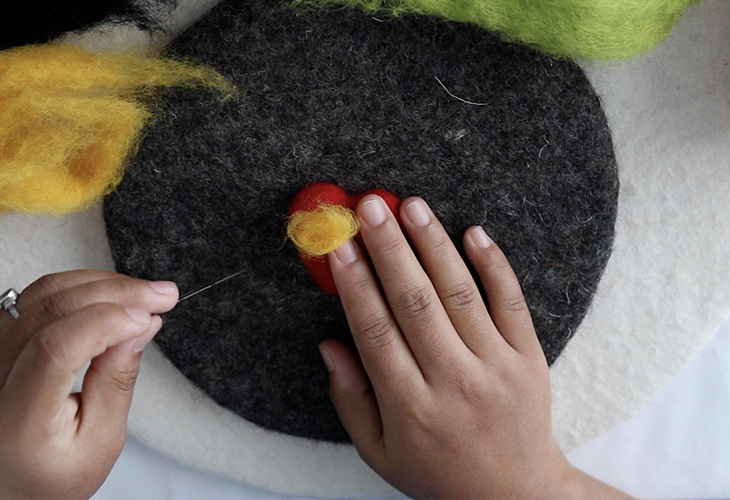

- Felt the wool and make the star shape as you go
- Once your wool takes the shape, start to needle it thoroughly
- Needle it real good to keep it intact.
- Voila! Heart with a star pattern is ready.
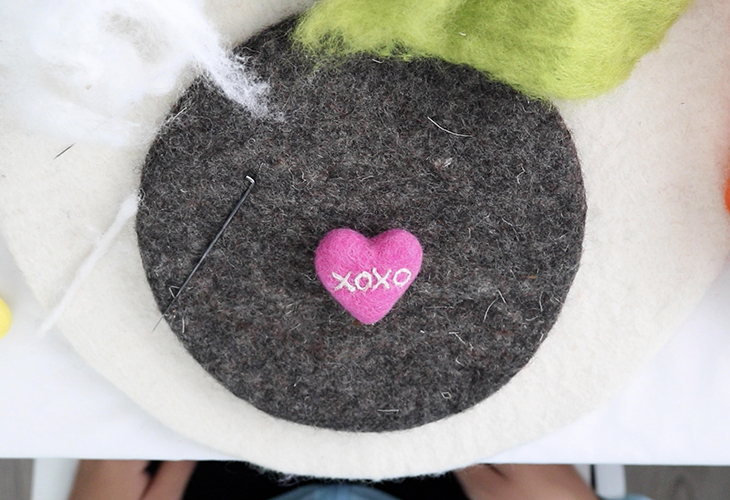
Be My Valentine
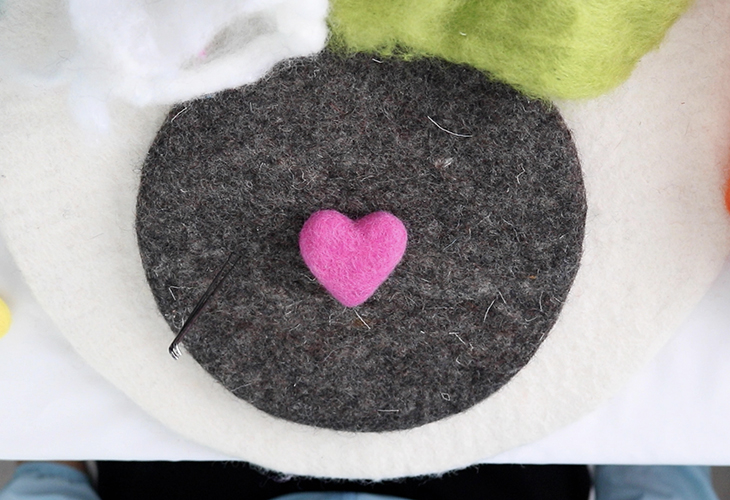
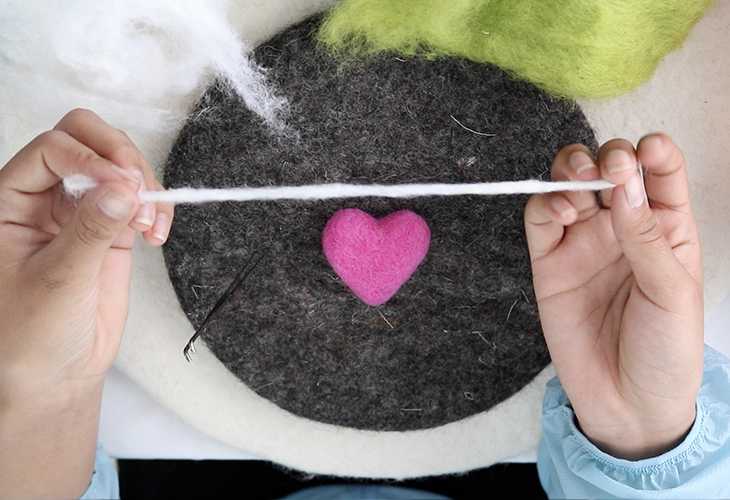
- Use a small piece of roving wool
- Roll into thin stripes
- Needle diagonally with care (use finger guide/ protector if needed)
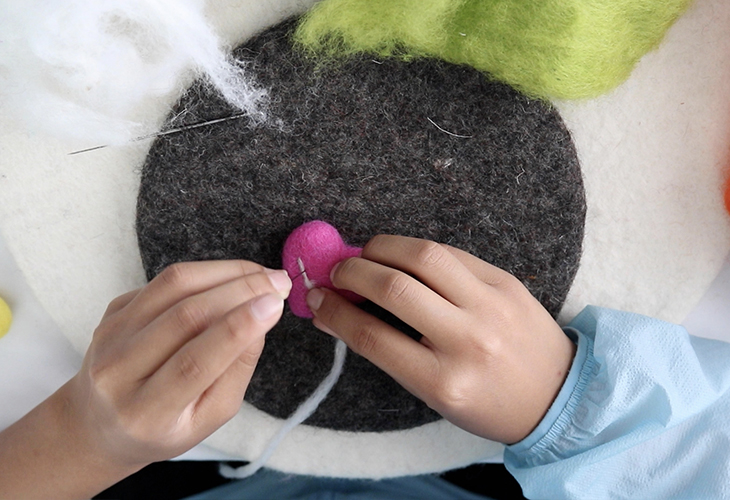
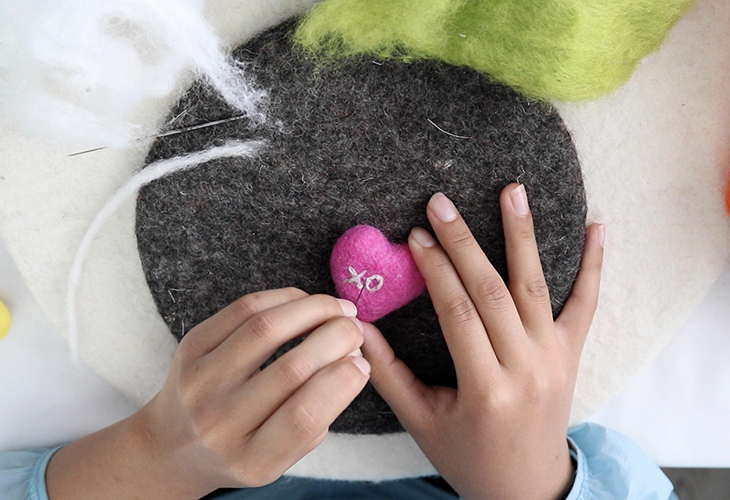
- Make a small slant ‘\’ and remove the excess wool. Repeat the same process and make ‘/’ which together creates ‘X’
- To make ‘O’, place the string of wool and needle in the shape of ‘O’ as you go along.
- Add wool if necessary to make the letters more prominent and sharp.
- Yippie! your valentine’s heart is now ready.
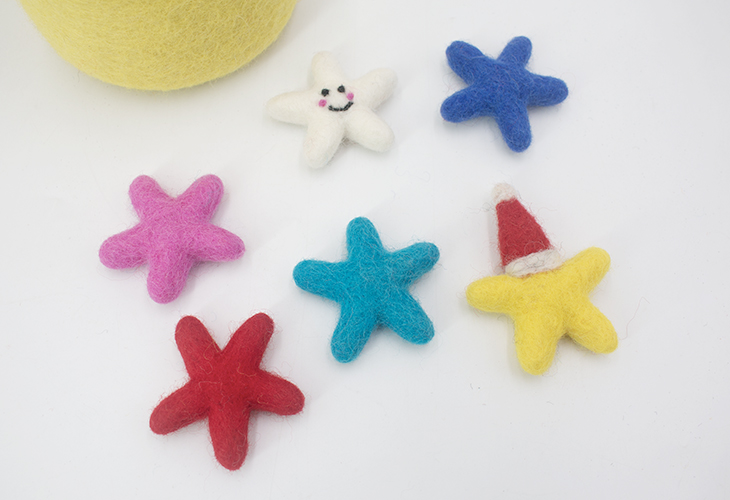
Now, let's transform stars by adding a smiley face and a cute Santa hat.
Your Friendly Neighbor
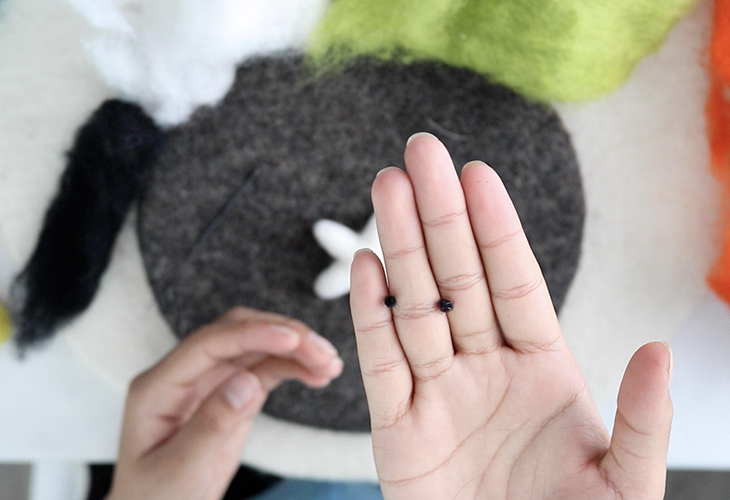
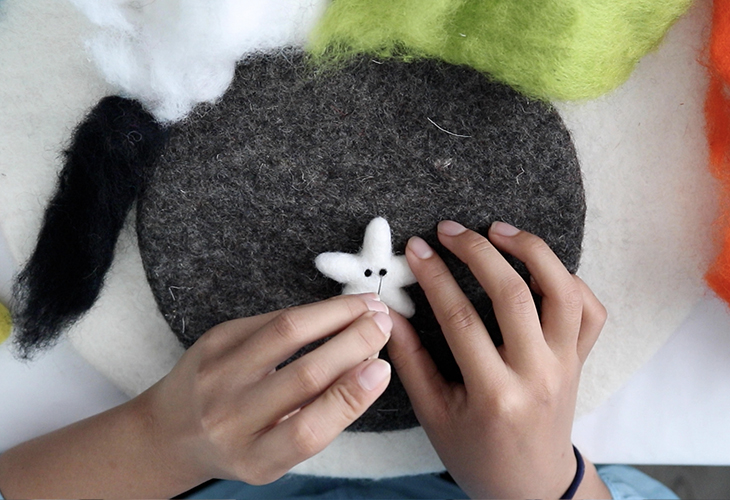
- Roll a few pieces of wool into two tiny balls for eyes
- Needle the balls at equally spaced apart to make the eyes
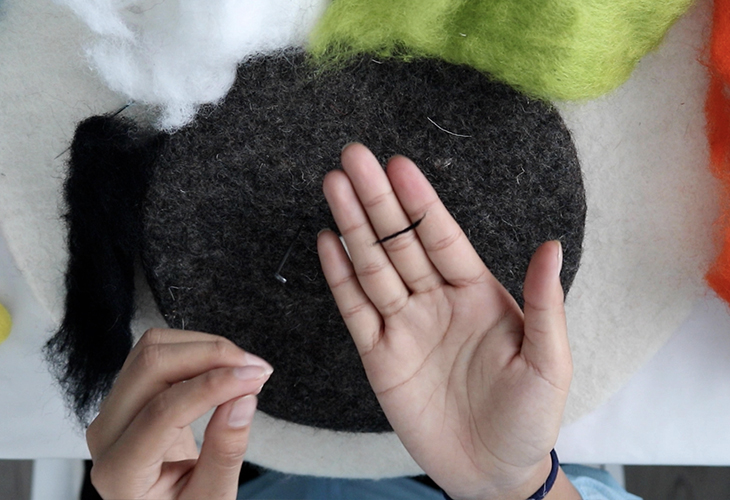
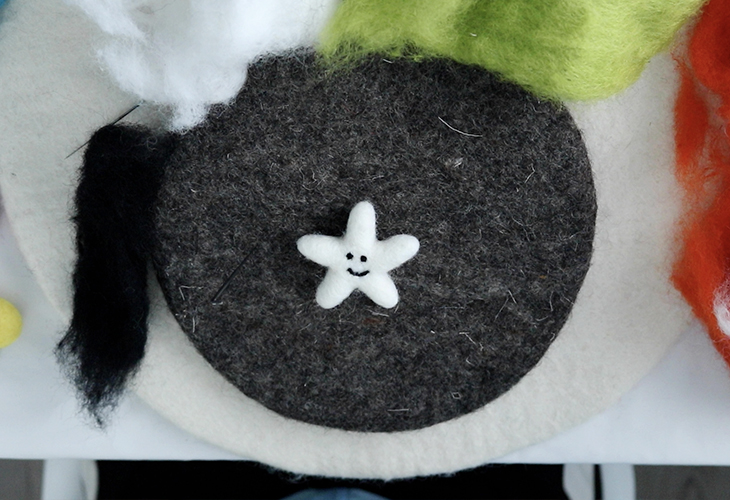
- Take a thin thread of wool to make a mouth
- Needle carefully to give the shape of a smiley face
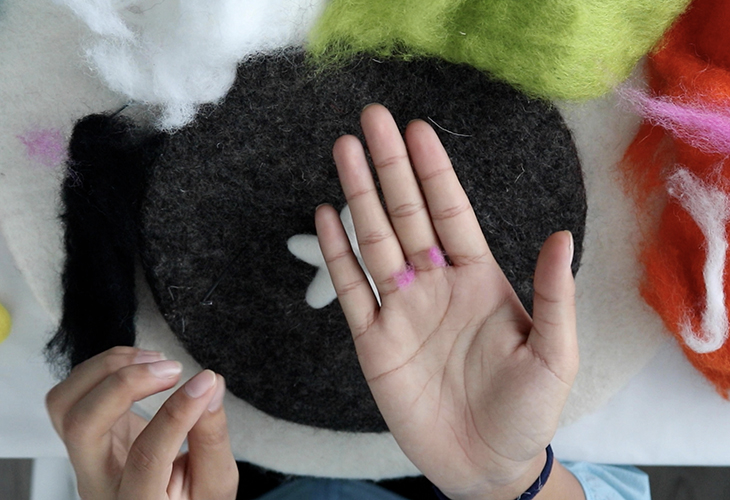
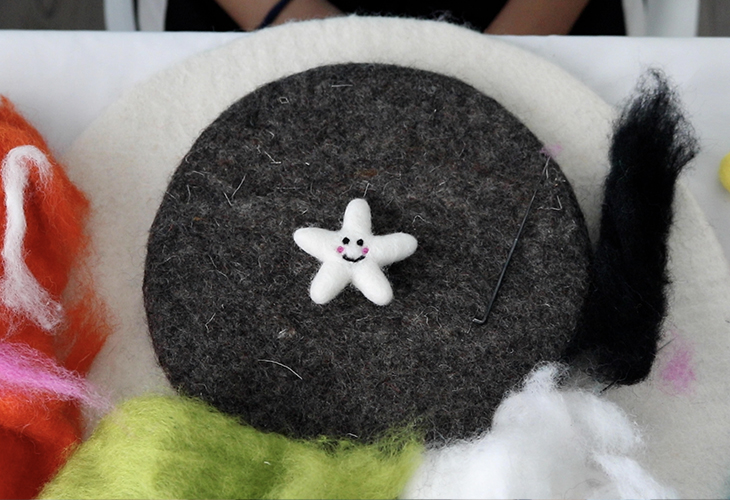
- Grab pink color wool and roll it into two tiny balls
- Add cute blusher on the felt star
- Horray! Friendly star is now complete
Santa Is Coming
- Take a bright color star
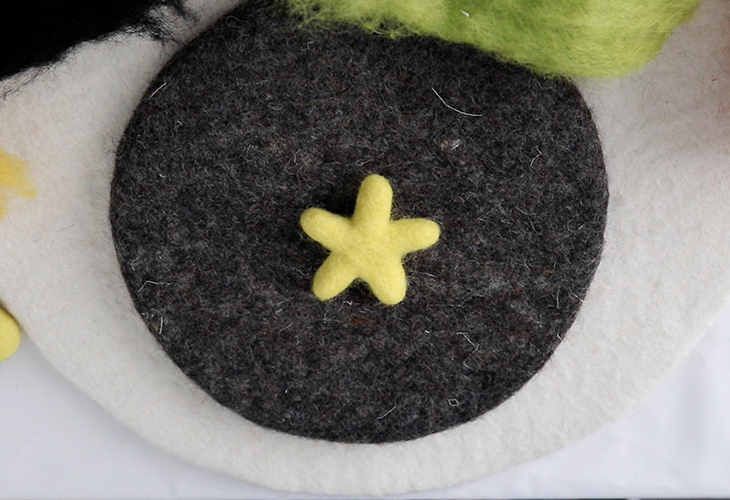

- Take a handful of red color wool for the hat
- Needle the wool in one corner of the star
- Needle and wrap it around the corner of the star
- Create a triangular hat-like shape.
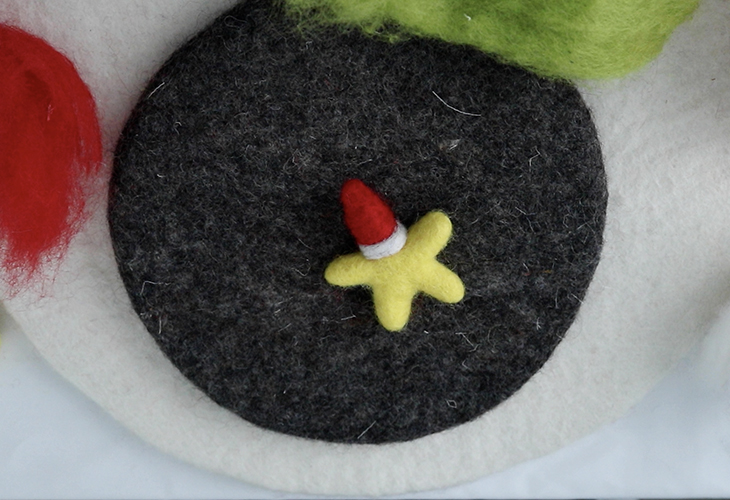
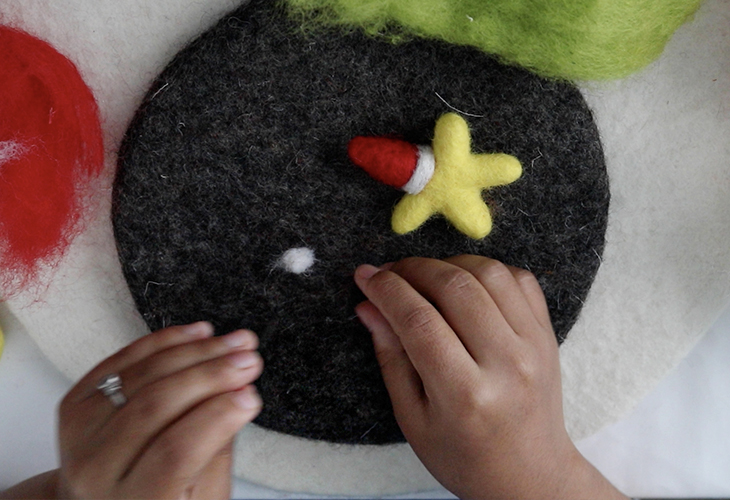
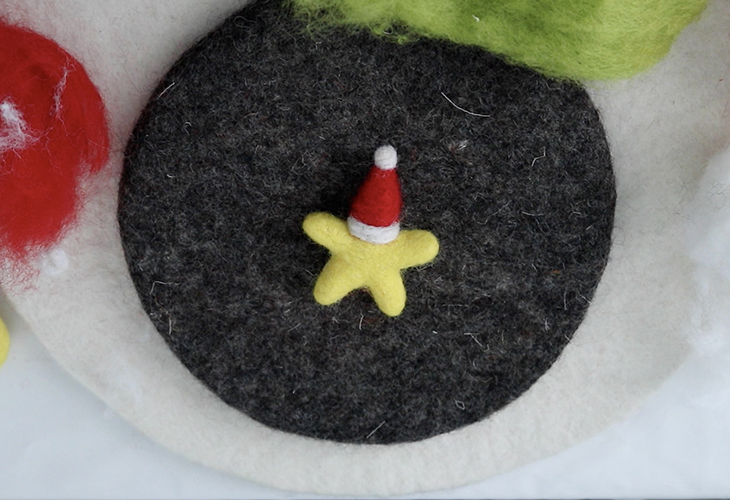
- Take and roll white color wool for the base of the hat
- Wrap it around the base of the hat and needle it.
- Roll another piece of white wool into a ball for pompom on top of the hat.
- Ta-da! Your Santa star is ready
Finishing Touches Hacks:
- You know when it’s done when your craft is firm and tight.
- If the end product turns out to be fuzzy, make sure to pierce a little more.
- If there are any strays or lose fibers, use scissors to trim the excess.
- The more you felt, the more it shrinks.
See, that wasn’t so hard right? Just some little touches and with a little bit of poking here and there. Voila! You have your new revamped needle-felt craft. Why stop here? Go ahead and explore new felt decoration ideas with different colors, textures, designs and let your creative energy take you to places.
There is no hard and fast rule when it comes to art. We are also curious to see how your felt craft turned out after following our blog. So let us know about the different unique designs you have created. Explore your creativity and message us on our social media platforms to share your innovative felt craft ideas.
Tag along because the next blog will be an ultimate game-changer. We will show you how you can add value to your craft by making them into different finished products in the upcoming week. Since we can’t tell you everything here, you might want to wait to see for yourself.

