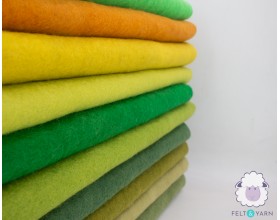
We are dedicated to creating seasonal blogs that inspire and excite our readers. Our blog offers easy and straightforward DIY processes for both school projects and home decor. With our clever wool-felt summer crafts ideas, you can add a personal touch to your home decor or create impressive school projects that will impress your teachers and classmates. We are committed to providing accessible and inspiring content that encourages our readers to unleash their creativity and explore new projects.
This time we came up with the summer content. Summer is the perfect time to freshen up your home decor, and wool felt is an excellent material to work with. Wool felt is soft, durable, and comes in a wide range of colors, making it a versatile option for a variety of projects. From coasters to planters, wall art to throw pillows, wool felt can add texture, color, and warmth to any space. In this blog post, we will explore several clever wool-felt summer projects that you can create to transform your home. These projects are easy to create, and they are amazing and perfect for adding a personalized touch to your indoors. Whether you're a seasoned crafter or just starting, these wool-felt projects will inspire you to get creative and add some warmth and color to your home this summer. So, take your scissors and thread, and let's begin crafting with us.
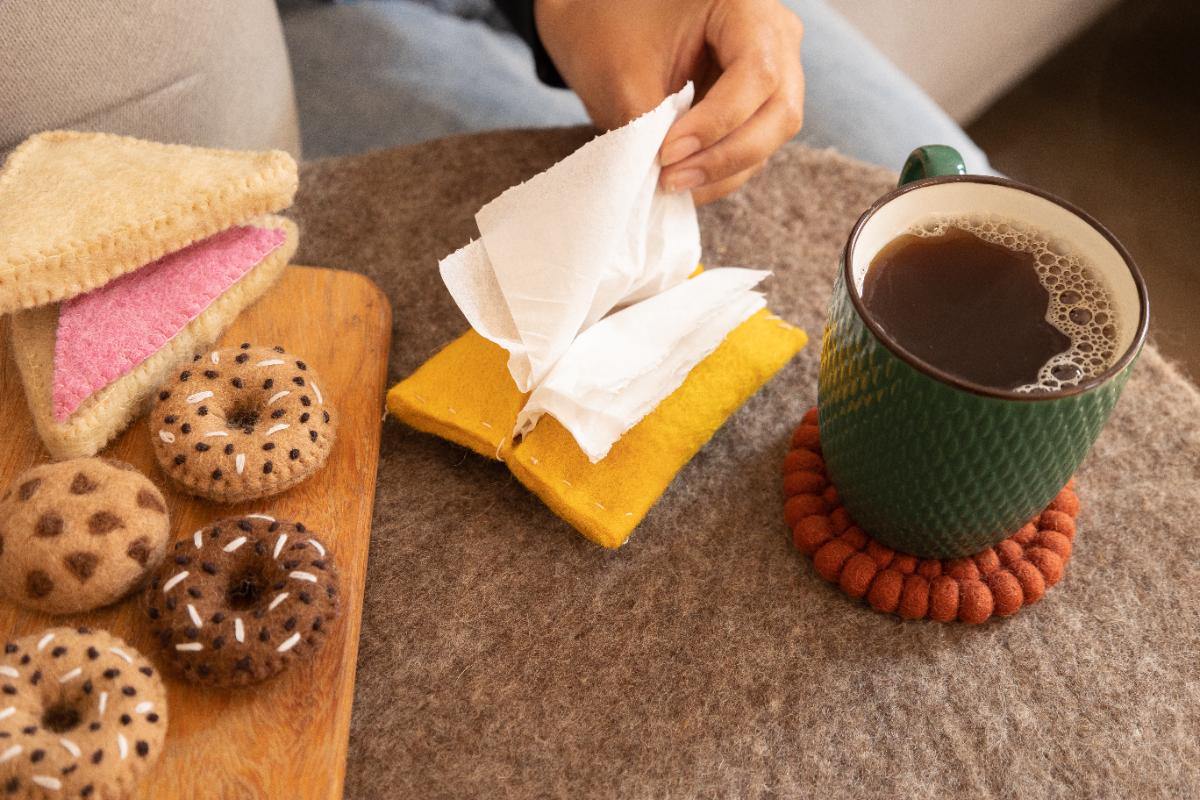
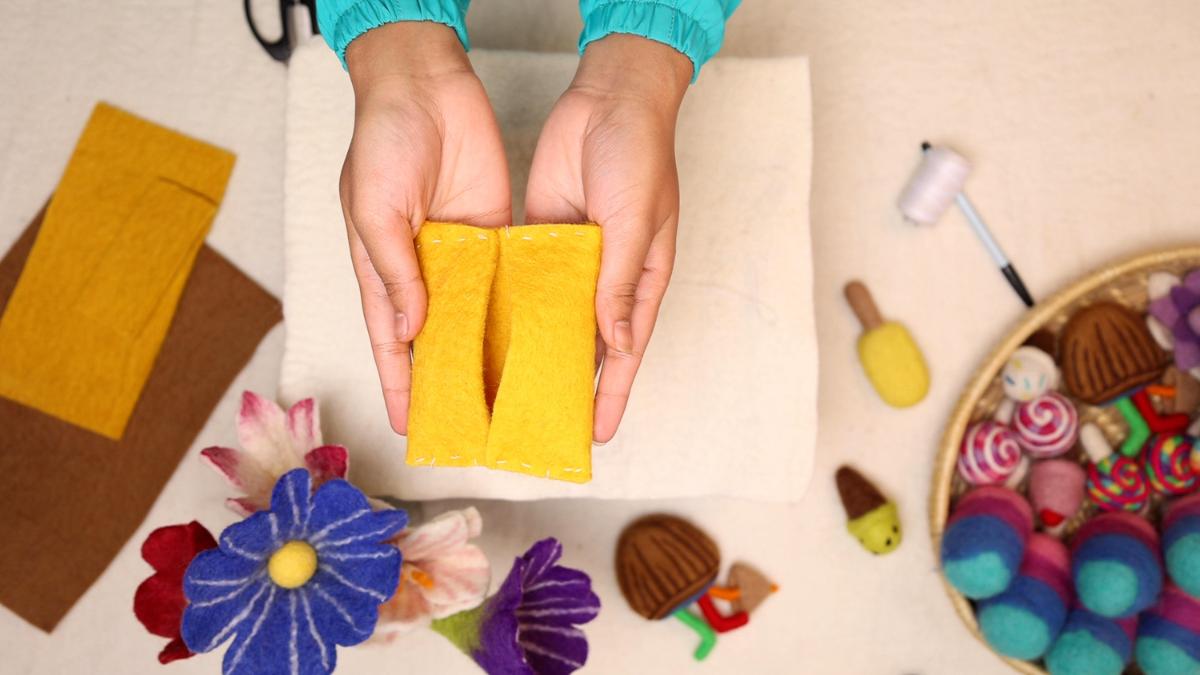
A. Felt Tissue Holder: A tissue felt holder made from the wool sheet is a practical and stylish accessory for your home or office. It is a small, rectangular-shaped pouch that is designed to hold a box of tissues. The holder is made from wool felt, which is a durable and soft material that comes in a variety of colors. The holder can be easily carried or placed on a desk or table, making it a convenient and stylish way to keep tissues handy. Overall, a tissue felt holder made from the wool sheet, is a functional and attractive accessory that can add a cozy and warm touch to any room.
Here are the materials you will need to make a felt tissue holder:
Materials:
- Felt fabric
- Scissors
- Needle and thread
- Fabric glue (optional)
- Small decorative shapes (optional)
Steps:
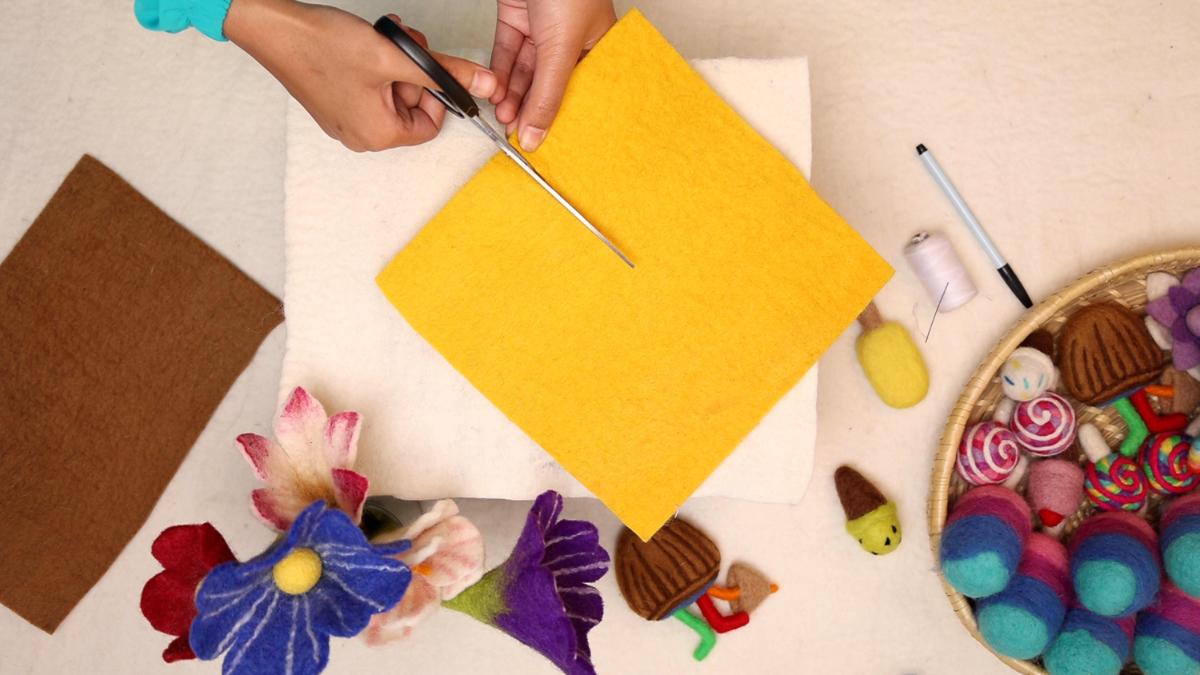
1. Cut out one piece of felt fabric using a pair of scissors. The first piece should be cut to the size of the tissue box's height and width. Here we have already measured and taken the enough felt sheet for the holder. You can also measure the pattern of the tissue holder.
2. Arrange and sew the decorative shapes onto the first piece of felt fabric.
3. Place the two pieces of felt fabric together, with the decorative side facing out, and sew them together along the sides and bottom, leaving the top open.
4. Slide the tissue box into the felt holder, making sure it fits snugly.
5. Your felt tissue holder is now ready to use! Simply pull out tissues from the top of the holder as needed.
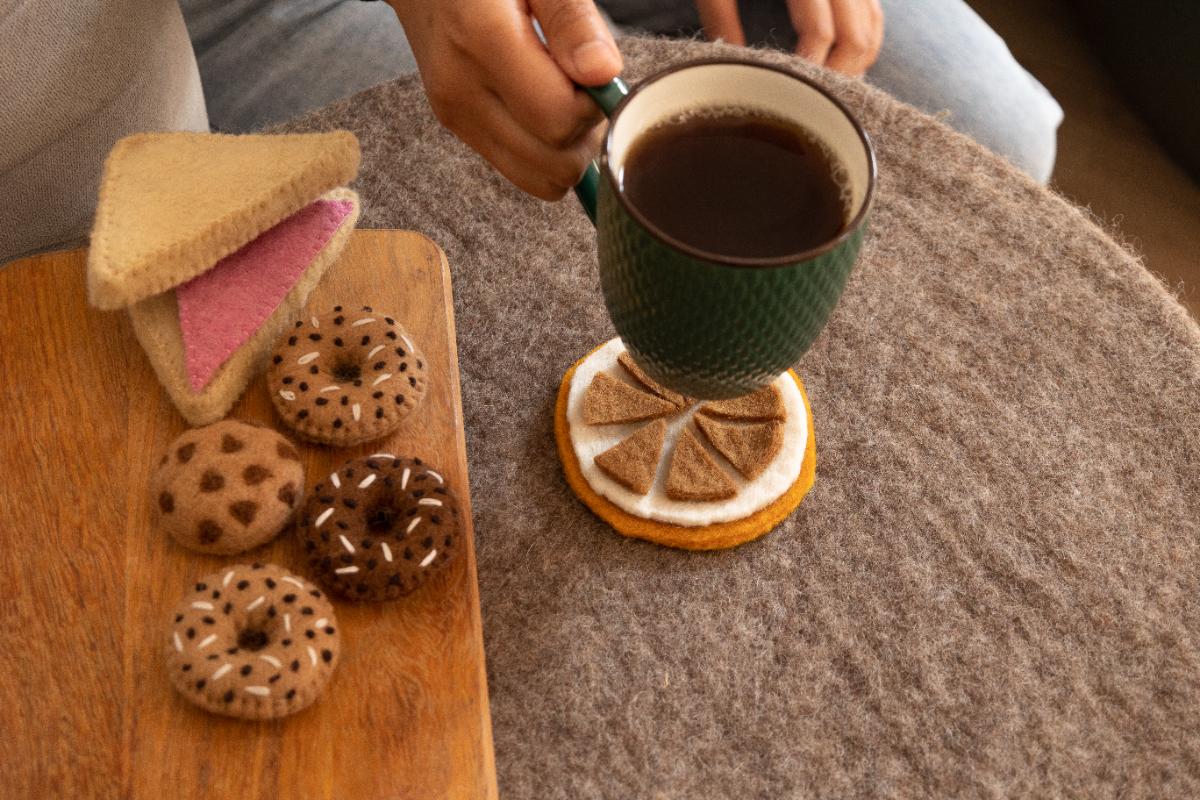
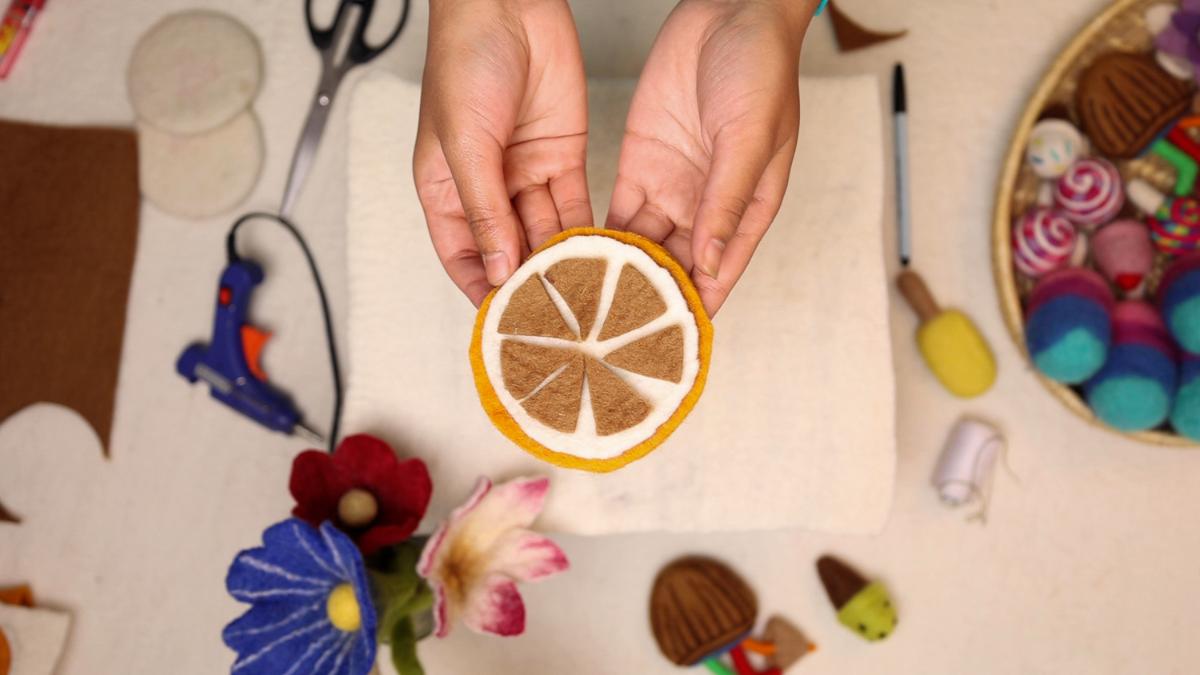
B. Pizza Wool Coaster: A pizza wool coaster made from felt fabric is a fun and unique accessory for your home or kitchen. It is a circular coaster that resembles a slice of pizza, and it is made from wool-felt fabric that is durable and comes in a variety of colors. The coaster is typically cut into a wedge shape and embellished with details such as slices, cheese, and crust using embroidery or fabric paint. The edges of the coaster are usually finished with decorative stitching or zigzag patterns to add extra durability and a unique touch. These coasters are not only functional but also add a fun and playful element to your table setting. They can protect your table from drink spills or hot dishes while also adding a pop of color and personality. Overall, a pizza wool coaster made from felt fabric is a practical and playful accessory that can bring a touch of whimsy to your home decor.
Here are the materials you will need to make a pizza felt coaster:
Materials
- Scissors
- Glue gun
- Pen marker
- Felt sheet in various colors (white, brown, and yellow for pizza slices)
Steps:
1. Gather your materials. You will need felt fabric in three different colors (yellow, white, brown), scissors, a pencil, and fabric glue.
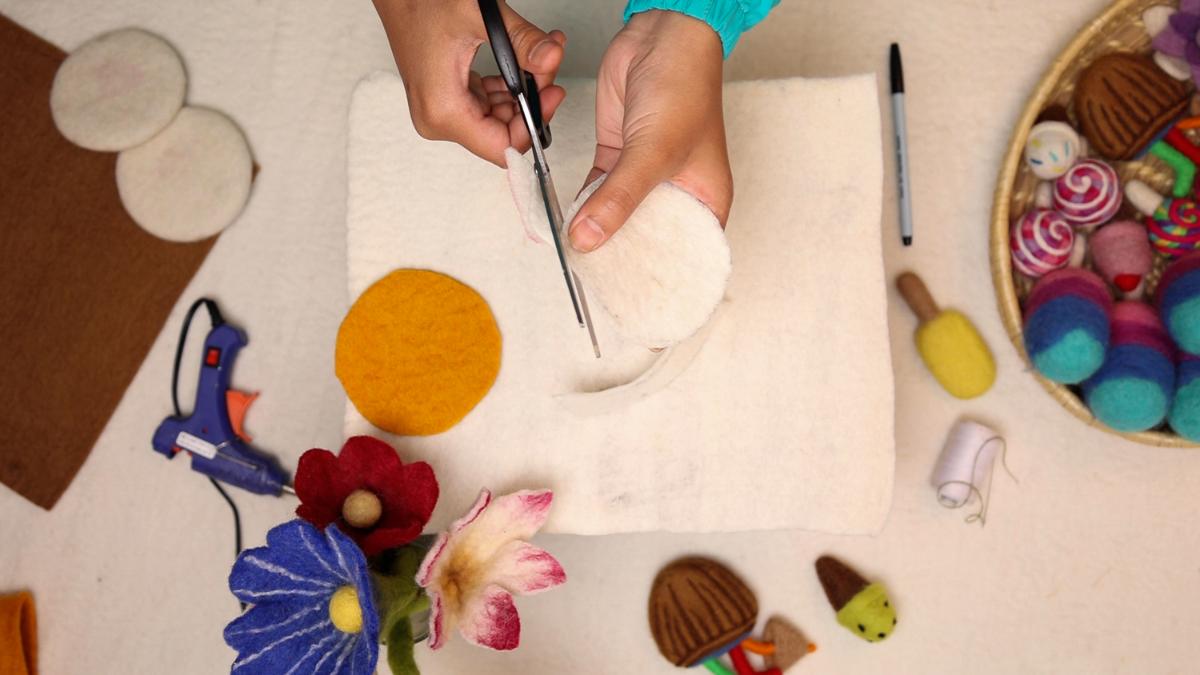
2. Cut out a circle from the yellow felt fabric to be the base of the pizza coaster.
3. Cut out small circles from the white felt fabric to represent the cheese.
4. Again, cut out small circles from the brown felt fabric to represent the small slices of pizza.
5. Arrange the triangle shape slices on top of the white felt base, leaving a little space for the crust.
6. Glue the slices in white felt base and place them with fabric glue.
7. Also, glue the yellow felt strips around the edge of the coaster to represent the crust.
8. Allow the glue to dry completely before using your new pizza felt coaster!
Repeat the steps using different colors of felt sheets to make different types of pizza coasters.
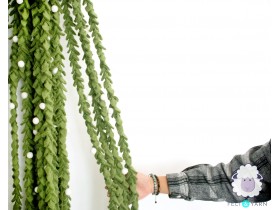
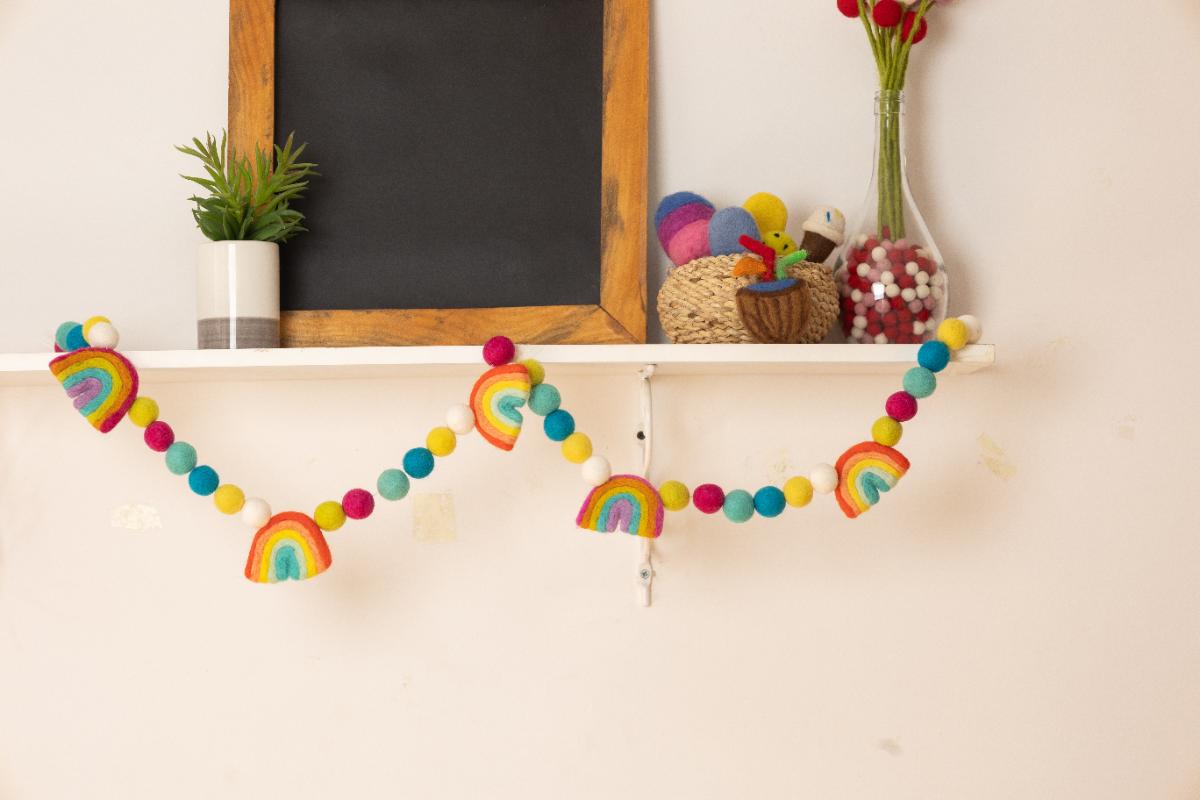
C. Felt Rainbow Garland: Summer felt rainbow garlands are a colorful and festive decoration that can brighten up any space. They are made from felt fabric in various colors that are cut into small pieces and strung together to form a rainbow. The wool-felt pieces are typically cut in the shape of raindrops or clouds to represent the weather elements associated with a rainbow. The pieces are then strung together using a needle and thread, with each color representing a different band of the rainbow. The garland can be as long or short as desired, making it a versatile decoration that can be used to adorn walls, doorways, mantels, or even outdoor spaces. Summer-felt rainbow garlands can be a great DIY project for kids and adults alike and can be customized to fit any color scheme or style. They are perfect for adding a pop of color and joy to your home or outdoor space during the summer months.
Here are the steps to make garlands with felt balls and felt mini rainbow:
Materials:
- Scissors
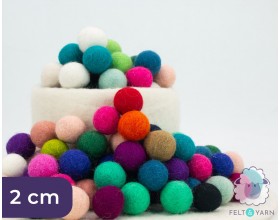
- Felt balls
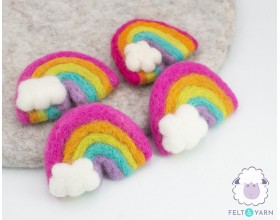
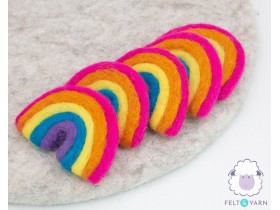
- Mini rainbow
- Needle & Thread
Steps:
1. Organize the felt balls according to your desire, here we have used 6 multi-color felt balls for garlands and 5 cute mini-rainbows.
2. Cut a length of twine or string to the desired length of your garland.
3. Thread the needle and tie a knot at one end of the twine or string.
4. Place 6 pieces of felt balls in the string using a needle then place the mini-felted rainbows.
5. Repeat step 6 with more felt balls until you reach your desired length for the garland.
6. Repeat steps 6-8 according to your desired length of the garland, alternating between felt balls and mini-rainbows until you have completed your garland.
7. Tie a knot at the end of the twine or string to secure the last felt ball or mini rainbow.
8. Hang your new felt ball and mini rainbow garland and enjoy!
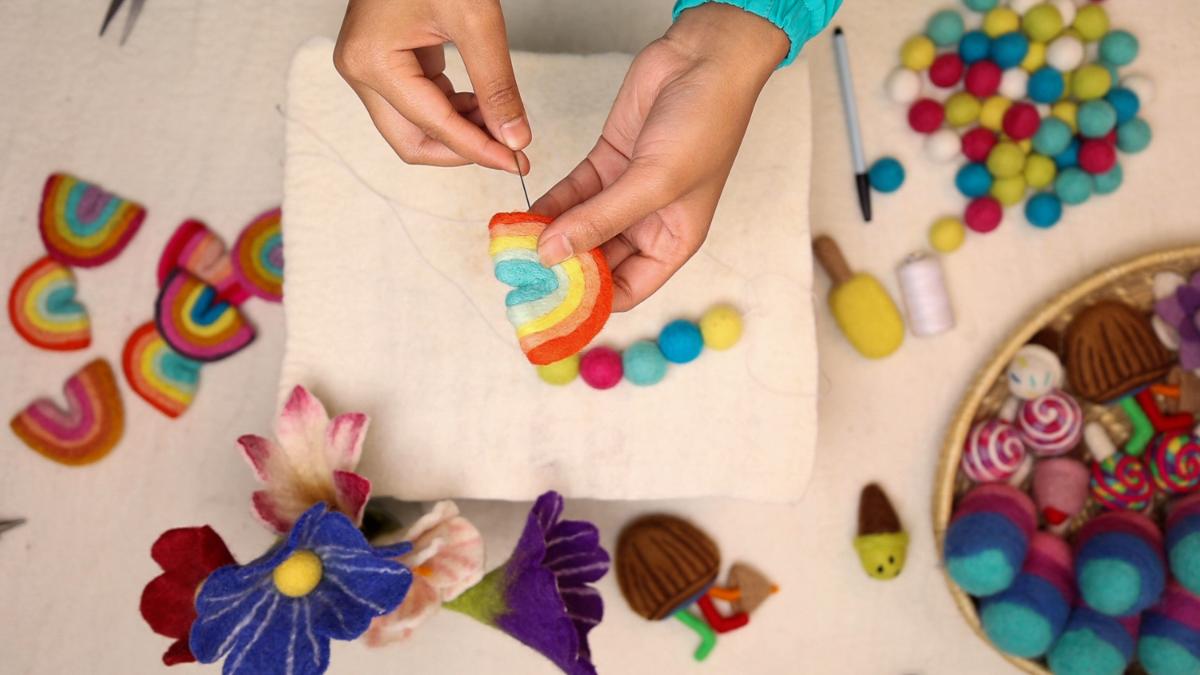
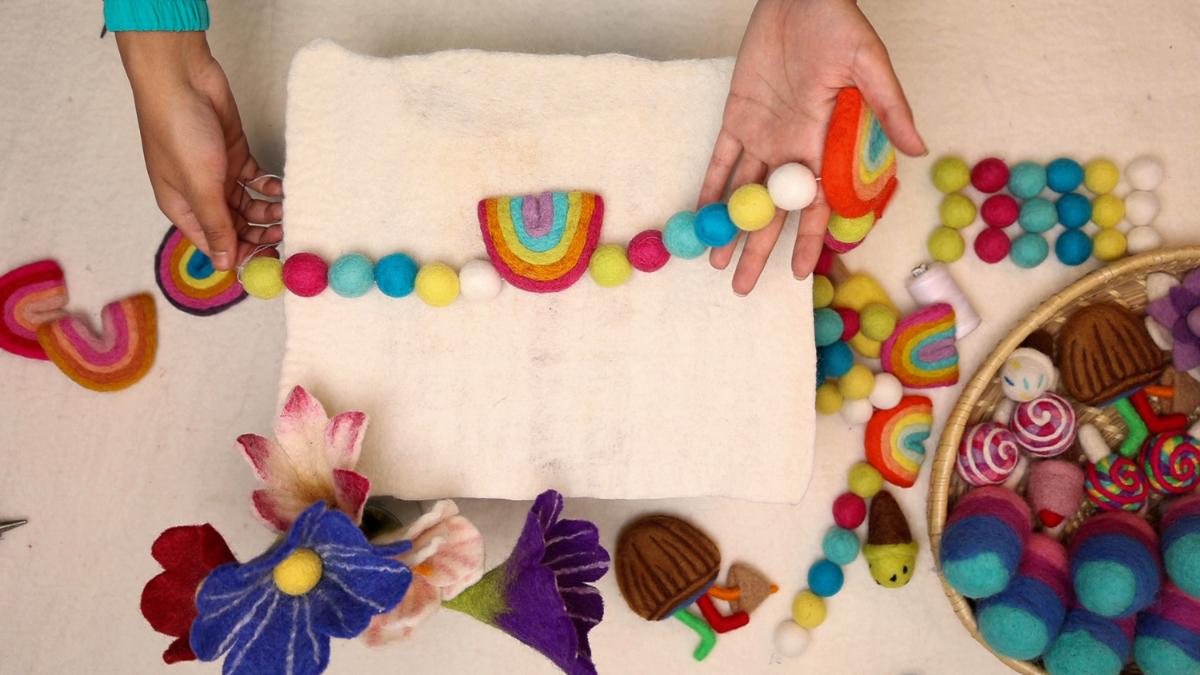
You can customize your garland by using different colors and sizes of felt balls, or by making the mini rainbows larger or smaller. Get creative and have fun!
In conclusion, wool-felt is an excellent material for creating unique and stylish summer projects. With its soft texture and wide range of colors, wool felt can add warmth and character to any space. The several wool-felt summer projects we have explored in this blog post are just the beginning. There are countless ways to incorporate wool felt into your home decor or school projects, and we hope our ideas have inspired you to get creative and explore new possibilities. By incorporating wool felt into your summer projects, you can transform your home into a warm and inviting space that reflects your personal style. So, gather your craft supplies, at our Etsy or online website and let your imagination run wild with wool felt this summer!
If you want to learn more about the detailed dipping process, you can check out our YouTube video where we share valuable tips and tricks that you can apply to your own DIY project.


